 ← Back to Blog
Migrating from WooCommerce to Shopify: What 10+ Migrations Taught Us About SEO Preservation
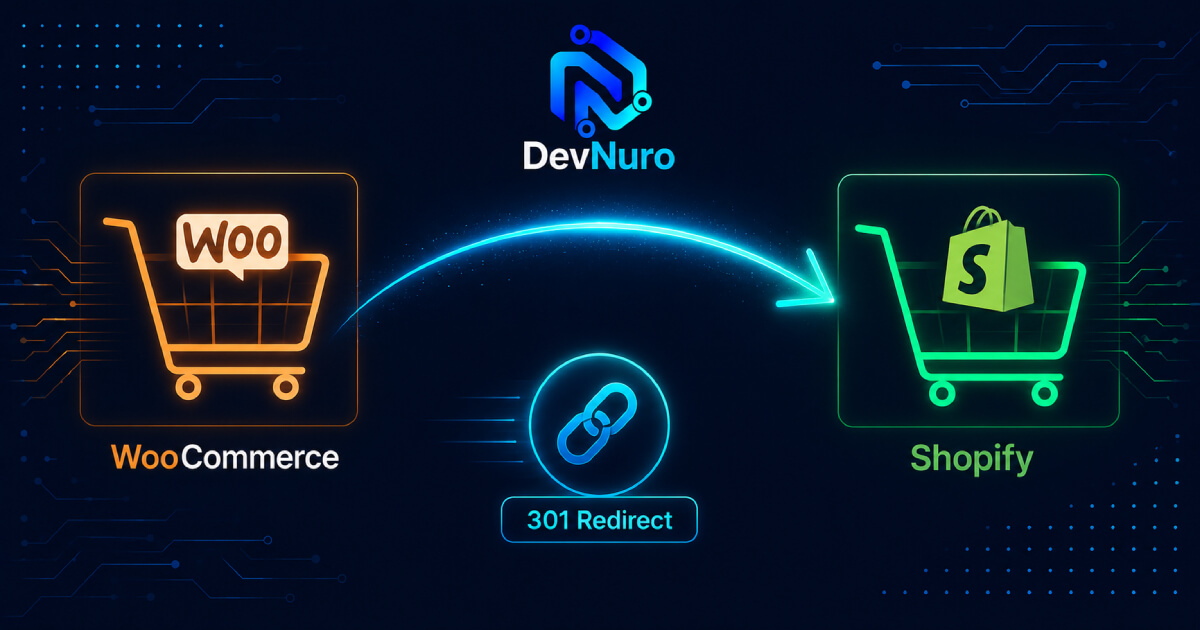
Moving from WooCommerce to Shopify can unlock better performance, security, and usability — but a poorly executed migration can wipe out years of SEO equity. Here's what we've learned from migrating 10+ stores.
Every successful WooCommerce store eventually hits a ceiling. Maybe it's the performance overhead of shared hosting, the constant plugin maintenance, the security burden of self-managing a WordPress site, or the growing complexity of keeping everything working together. When that ceiling arrives, Shopify often looks like the obvious next step — and for good reason. Shopify offers managed hosting, automatic updates, a robust app ecosystem, and a checkout experience that converts better out of the box.
But here's the problem that keeps store owners up at night: migration can destroy your SEO. Years of organic rankings, backlinks, page authority, and carefully curated content can vanish within days of a poorly planned move.
At DevNuro, we've migrated over a dozen WooCommerce stores to Shopify — some with fewer than 50 products, others with thousands. We've seen the mistakes that kill SEO, and more importantly, we've developed a repeatable process that preserves (and often improves) search visibility after migration. This guide shares everything we've learned.
Why SEO Preservation Matters During Migration
Your WooCommerce store has likely been running for years. In that time, Google has indexed hundreds or thousands of your URLs — product pages, category pages, blog posts, landing pages. Each of those URLs carries link equity from backlinks, social shares, and historical engagement.
When you migrate to Shopify, every single one of those URLs will change unless you plan for it. WooCommerce uses URL structures like:
/product/product-name//product-category/category-name//shop/
Shopify, by default, uses different structures:
/products/product-name/collections/category-name/collections/all
If you change these URLs without proper redirects, every link pointing to your old URLs will result in a 404 error. Google will see a site full of dead pages, your rankings will plummet, and your traffic graph will look like a cliff.
SEO preservation is not optional — it's the single most important technical requirement of any WooCommerce to Shopify migration. Ignore it, and you're essentially starting your SEO from scratch.
Pre-Migration Audit: What to Document
Before you touch a single file or export a single product, you need a complete picture of your current SEO landscape. Skip this step and you'll be guessing your way through redirect mapping — which is how migrations fail.
Full URL Inventory
Use a tool like Screaming Frog SEO Spider, Ahrefs Site Audit, or Google Search Console to export a complete list of all indexed URLs on your WooCommerce site. This should include:
- All product URLs
- All category/collection URLs
- All blog post URLs
- All page URLs (About, Contact, custom landing pages)
- All tag URLs (if you use WooCommerce tags)
- All image URLs (if they appear in search results)
Current Rankings and Traffic
Document your current keyword rankings for your top 50–100 product and category pages. Use Google Search Console to export your top queries, impressions, and clicks. Also record your current organic traffic levels in GA4 so you have a baseline to compare against post-migration.
Backlink Profile
Export your backlink profile from Ahrefs, Moz, or Semrush. Pay special attention to backlinks pointing to specific product and category pages — those are the links you most need to preserve through redirects.
Content Inventory
Document all your product descriptions, blog posts, meta titles, meta descriptions, and alt text. WooCommerce stores often have years of accumulated content that needs to be migrated faithfully.
Technical SEO Settings
Record your current sitemap structure, robots.txt configuration, canonical tags, schema markup, breadcrumb structure, and any custom SEO settings from plugins like Yoast SEO or Rank Math.
URL Structure and 301 Redirect Mapping
This is the most critical technical task in the entire migration. Every old URL from WooCommerce must map to a corresponding new URL on Shopify via a 301 (permanent) redirect. There is no acceptable failure rate here — even 5% broken redirects means hundreds of dead links for larger stores.
Building the Redirect Map
Create a CSV or spreadsheet with two columns: Old URL and New URL. For each URL in your WooCommerce inventory, determine the corresponding Shopify URL:
/product/product-name/→/products/product-name/product-category/category-name/→/collections/category-name/shop/→/collections/all/about-us/→/pages/about-us/blog/post-name/→/blogs/news/post-name
Bulk Upload to Shopify
Shopify supports bulk URL redirect uploads through Online Store > Navigation > URL Redirects > Import. Upload your CSV and Shopify will handle all 301 redirects server-side.
Pro tip: Test every redirect before going live. Use a tool like Redirect Path (Chrome extension) to verify that each old URL correctly 301-redirects to the intended new URL. Do this for a representative sample of product, category, and blog URLs.
Handling Paginated and Filtered URLs
WooCommerce generates filtered URLs like /product-category/category-name/?filter_color=blue. These are harder to map directly. Your best approach is to either redirect filtered URLs to the parent collection page or use Shopify's built-in collection filtering and create custom redirects for the most important filtered views.
Wildcard Redirects
For URL patterns where individual mapping isn't practical (e.g., thousands of product URLs with identical path structures), you can use Shopify's wildcard redirects. A redirect from /product/* to /products/* will catch all product URLs in one rule. Use these carefully and always verify they work as expected.
Migrating Content Without Losing Quality
Content migration is where most migrations lose SEO value — not because the URLs break, but because the content itself degrades. Product descriptions get truncated, meta titles get cut off, images lose alt text, and blog formatting falls apart.
Product Content Migration
Export your WooCommerce products to CSV using a plugin like Product Import Export for WooCommerce. Map each column to Shopify's product import format:
- Title → Title
- Description → Body (HTML)
- Short description → Concatenate into body or use as metafield
- SKU → SKU
- Categories → Collections (create matching collections in Shopify first)
- Images → Image Src (use full image URLs from WooCommerce)
- Meta title → Custom meta title (use Shopify's SEO fields)
- Meta description → Custom meta description
Blog Content Migration
WooCommerce blog posts are standard WordPress posts. Export them using WordPress's built-in XML export tool. For each post, manually recreate the content in Shopify's blog editor. This is tedious but necessary — automated blog migration tools often mangle formatting, break internal links, and lose embedded media.
Key things to preserve in blog migration:
- Original publish dates (use the "Posted date" field in Shopify)
- All internal links (update them to point to new Shopify URLs)
- Image alt text and captions
- Heading structure (H1, H2, H3)
- Any embedded videos or social media embeds
- Author bylines and categories/tags
Preserving SEO Metadata
Don't rely on Shopify's default meta tag generation. For every product, collection, and page, manually set:
- Page title (match your WooCommerce/SEO plugin titles exactly)
- Meta description (copy from WooCommerce — even if they need updating later, preserve the originals first)
- URL handle (match the WooCommerce slug whenever possible)
- Alt text for all product images
Handling Product Data and Collections
Product data structure differs significantly between WooCommerce and Shopify. Getting this right determines whether your store works correctly after migration — and whether your SEO survives.
Product Variants
WooCommerce handles variants through attributes (size, color, material) that can be combined arbitrarily. Shopify also supports variants, but with a limit of 100 variants per product. If you have products with many attribute combinations (e.g., 10 sizes x 10 colors = 100 combinations), you're at the limit. Products exceeding 100 variants will need to be split into multiple Shopify products.
Collections vs. Categories
WooCommerce uses hierarchical categories. Shopify uses collections, which can be either:
- Manual collections — You hand-pick which products belong (best for preserving exact WooCommerce category membership)
- Automated collections — Products are included based on conditions like tags, price, or type (better for dynamic stores but harder to match WooCommerce categories exactly)
For SEO preservation, manual collections are usually safer because you can ensure the exact same products appear in each collection as they did in the WooCommerce category.
Product Images and Alt Text
Images that lose their alt text during migration create an SEO blind spot. Ensure your export includes image alt attributes and that they're preserved when importing to Shopify. Use a mapping column Image Alt Text in your Shopify import file.
Reviews and Ratings
Product reviews contribute to on-page SEO through fresh user-generated content. WooCommerce reviews don't automatically transfer to Shopify. Use a migration app like Judge.me or Stamped.io to import your existing reviews, or hire a developer to write a custom script that transfers reviews via Shopify's API.
Post-Migration SEO Checklist
The migration isn't over when the products are on Shopify. The post-migration phase is where you validate that everything worked — and fix what didn't.
Immediate Post-Launch Checks
- Verify all 301 redirects: Crawl your old WooCommerce URLs using Screaming Frog or a similar tool. Every URL should return a 301 or 302 status code pointing to the correct new URL. Zero 404s are the goal.
- Check canonical tags: Ensure every page has a self-referencing canonical tag pointing to the correct Shopify URL.
- Submit new sitemap: Generate a fresh sitemap in Shopify (it does this automatically) and submit it to Google Search Console. Request indexing for the most important pages.
- Verify robot.txt: Make sure your Shopify store isn't blocking search engines. Check
/robots.txtto confirm it allows crawling of product and collection pages. - Test page speed: Run PageSpeed Insights on your new Shopify store. Shopify is generally faster than WooCommerce on shared hosting, but a heavy theme or too many apps can negate this advantage.
Week 1 Post-Migration
- Monitor Google Search Console: Check for crawl errors, index coverage drops, and manual actions. Watch the "Page indexing" report for sudden increases in "Not indexed" or "Excluded" pages.
- Track keyword rankings: Compare your current rankings to your pre-migration baseline. Some fluctuation is normal in the first week. A sharp, sustained drop across many keywords indicates a redirect or content problem.
- Monitor organic traffic: Compare daily organic traffic in GA4 to pre-migration levels. Traffic may dip briefly during re-crawling but should recover within 1–3 weeks.
Month 1 Post-Migration
- Review and fix remaining 404s: Google Search Console will show any URLs returning 404 errors. Add redirects for any that were missed.
- Update internal links: If your blog posts still link to old WooCommerce URLs (which now redirect), update them to link directly to the new Shopify URLs for cleaner link equity transfer.
- Update external partners: Notify any partners, affiliates, or directories that link to your old URLs. Provide them with the new URLs to update on their end.
Common Migration Mistakes We've Seen
After working on 10+ migrations, certain mistakes appear again and again. Here are the most damaging ones and how to avoid them:
1. Not Mapping All URL Patterns
Most store owners remember to map product and category URLs, but they forget about paginated URLs, filtered URLs, tag pages, and attachment URLs. These "forgotten" URLs create hundreds of 404 errors that silently erode SEO equity. Solution: use a crawler to find every indexed URL, then map each one.
2. Using 302 Redirects Instead of 301
A 302 (temporary) redirect tells Google "this move is temporary, keep the old URL indexed." A 301 (permanent) redirect tells Google "this URL has permanently moved, transfer all link equity to the new URL." Using 302s by accident means Google won't transfer your rankings. Always double-check that your redirects are 301, not 302.
3. Changing URL Slugs
Even with perfect 301 redirects, changing URL slugs creates a suboptimal experience. Google may take weeks to re-crawl and re-index the new URLs. Whenever possible, keep your Shopify URL handles identical to your WooCommerce slugs (minus the path prefix differences).
4. Launching Without Testing on a Staging Domain
Migrating directly from WooCommerce to a live Shopify store without testing is risky. Use Shopify's password-protected store feature or a staging domain to test the entire migration — including redirects, content accuracy, and SEO metadata — before pointing your domain to Shopify.
5. Ignoring Structured Data
WooCommerce automatically generates product schema markup. Shopify does too, but the implementation is different. After migration, verify that your product pages have correct Product schema (including price, availability, and reviews) using Google's Rich Results Test.
6. Migrating Without a Rollback Plan
If something goes catastrophically wrong — redirects fail, products disappear, payment processing breaks — you need the ability to point your domain back to your WooCommerce site. Keep your old WooCommerce hosting active for at least 30 days post-migration, and keep a backup of your WooCommerce database and files.
Real Results: What SEO Recovery Looks Like
Based on our migration experience, here's what a typical SEO recovery timeline looks like for a well-executed WooCommerce to Shopify migration:
- Days 1–3: Google detects the new site and begins re-crawling. You may see a small traffic dip (10–20%) as old URLs get de-indexed and new URLs get crawled. This is normal.
- Days 4–14: Traffic stabilizes as Google processes your 301 redirects. Most stores return to 80–90% of pre-migration traffic within two weeks if redirects are correct.
- Weeks 3–6: Google completes re-indexing of your new URLs. Traffic should return to pre-migration levels and often exceeds them because Shopify's faster page speed positively impacts rankings.
- Month 2 onward: The SEO benefits of Shopify's managed infrastructure start showing. Faster load times, better mobile performance, and a cleaner site structure typically lead to gradual ranking improvements over the following months.
In the best-case migrations we've managed, stores saw organic traffic recovery within 2 weeks and traffic growth of 15–30% within 3 months — driven entirely by Shopify's superior speed and user experience compared to the old WooCommerce setup.
In the worst cases (where redirects were incomplete or content was lost), stores took 2–4 months to recover baseline traffic, and some pages never recovered their original rankings. The difference between these outcomes is preparation and execution.
Free Migration Review
Planning a WooCommerce to Shopify migration? Let's protect your SEO.
We'll review your current store, map out the redirect strategy, and help you migrate without losing rankings. No obligation.
Related Services
Looking for more help with your eCommerce or web development project? Check out our services:
Shopify Development
Custom Shopify store development, theme customization, Liquid fixes, app integration, and migration support.
Learn More →WordPress Development
Custom WordPress sites, WooCommerce stores, theme customization, performance optimization, and maintenance.
Learn More →API Integrations
Custom API integrations including payment gateways, shipping providers, ERP systems, and third-party platforms.
Learn More →Pricing & Plans
Transparent pricing for web development, eCommerce, automation, and API integration projects of all sizes.
View Pricing →